Why Your Outdoor Heaters Keep Dying (and How to Fix It)
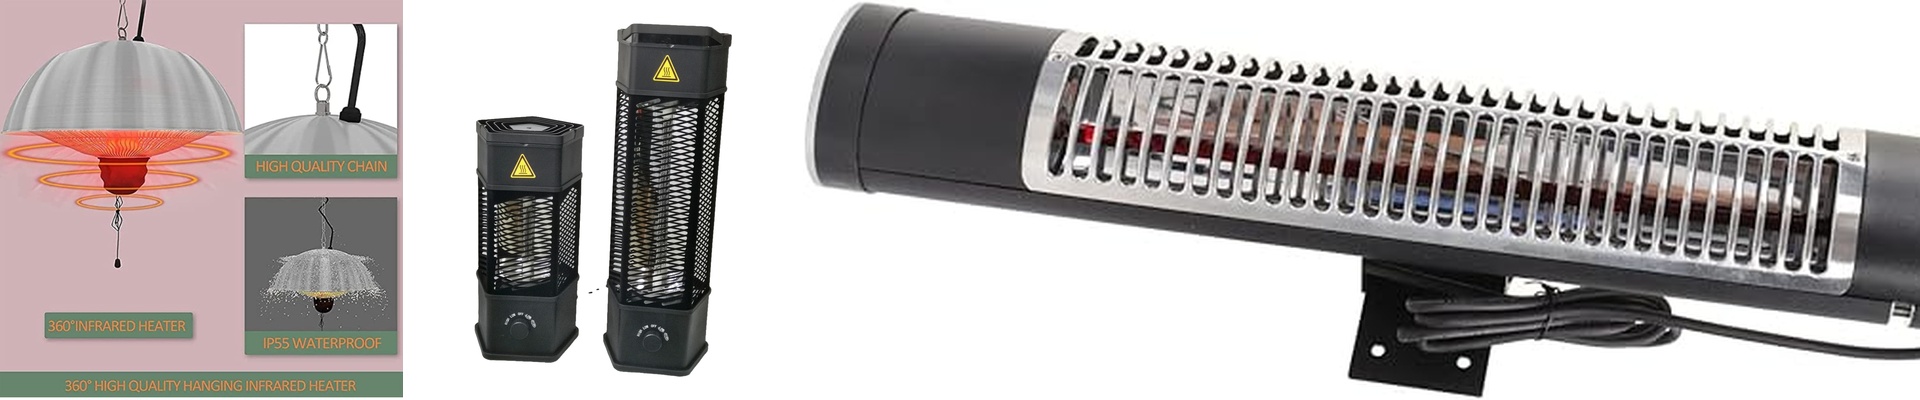
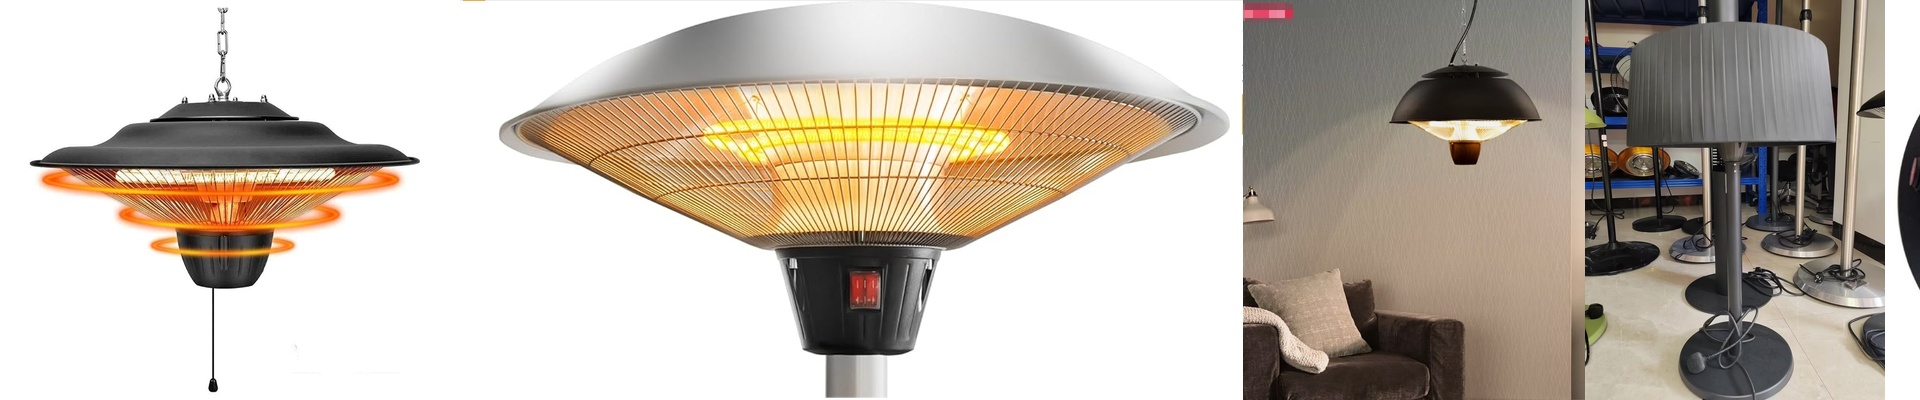
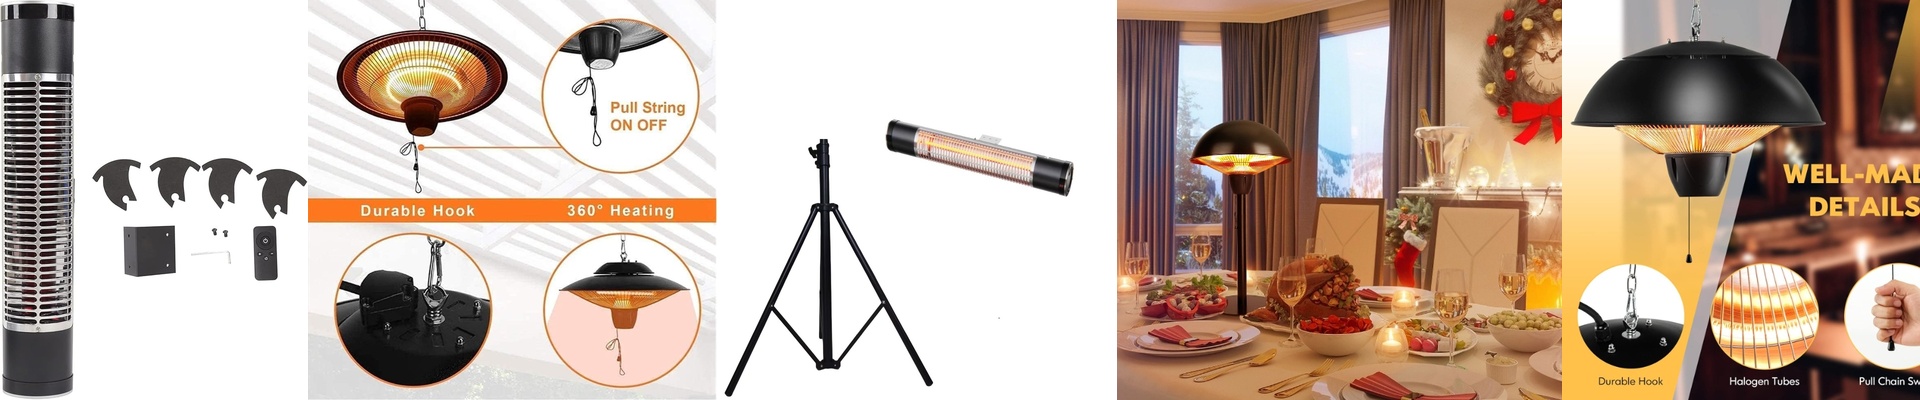
Outdoor infrared heaters have a rough life. You’ve got massive amounts of heat blasting at one end, while the other end is getting pelted with rain, humidity, and salt spray. It’s a recipe for disaster. Most of the time, these units fail for one simple reason: the lead-wire seal gives up. The sealant cracks, moisture sneaks in, things start to rust, and then—pop—you’ve got a short circuit.
The heat is the real enemy
Here’s the thing. The spot where the wire enters the heater housing is where everything usually goes wrong. The heat from the infrared tube doesn’t just stay put; it travels back along the wire. This “thermal soak” basically bakes the sealant. If you’re using cheap, generic silicone, it gets brittle. It shrinks. And once that seal pulls away from the chassis, your IP66 rating is basically a suggestion. Water gets inside, hits the live terminals, and fries the whole thing.
Doing it the right way
We stopped relying on a single bead of glue. That’s just not enough. Instead, we use high-temp fluorosilicone gaskets and a compression-fit gland. Think of it as a mechanical wall rather than just a sticky patch. We make sure these seals can handle the wild swing from -20°C to 250°C without getting stiff or shrinking. Because let’s be honest: “waterproof” doesn’t mean much if the seal disappears after a few days of hard use.
A quick tip on installation
There is a trade-off. Because these seals are so tight and heavy-duty, the wiring feels a bit more rigid. You can’t just yank these cables around while you’re installing them. If you bend the wires too sharply right where they enter the housing, you might actually pull the seal open and create a leak. Just make sure your mounting bracket allows for a natural drip loop. Let the water fall away from the seal instead of pooling right on top of it. It saves the gasket and keeps the heater running longer.